Prepare and configure your meeting
Now, it’s time to prepare and configure your meeting.
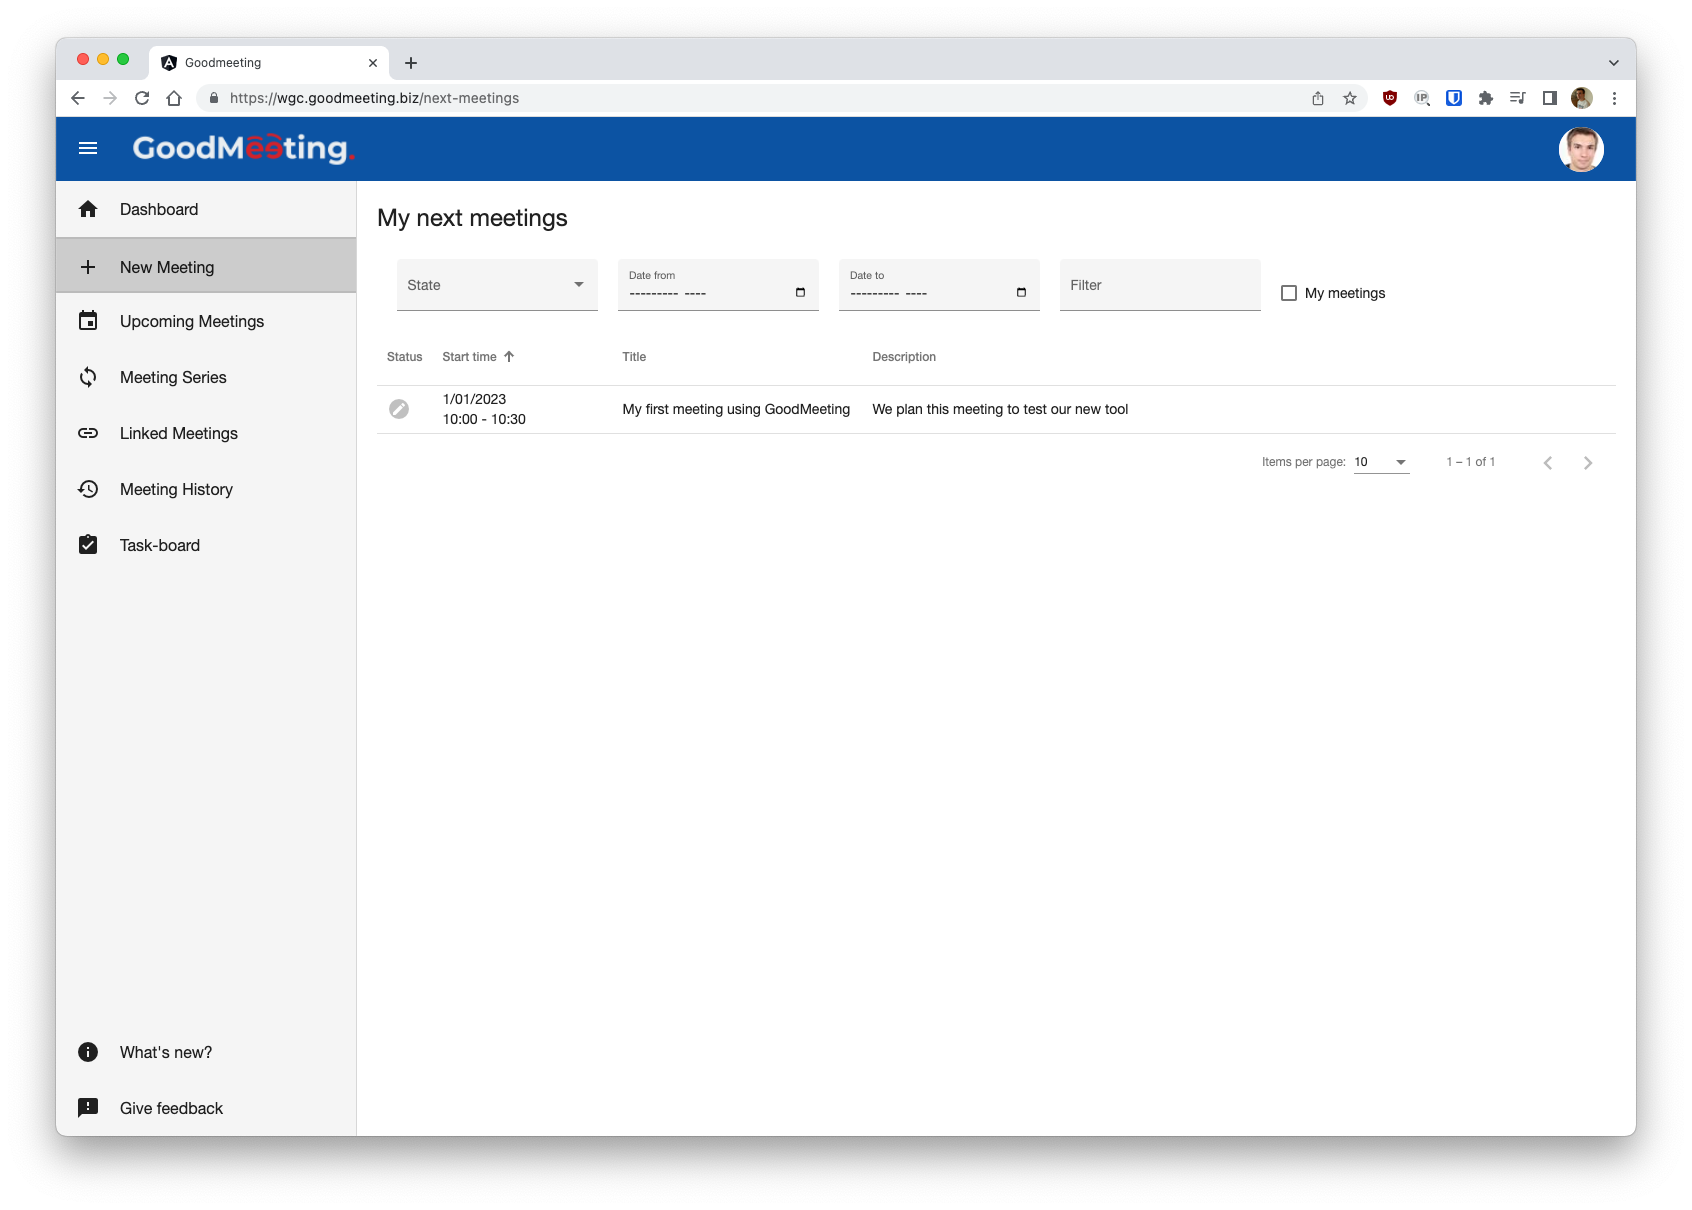
Start by clicking on the meeting you want to configure and prepare.
As the owner of a meeting, you can access to the editor interface.
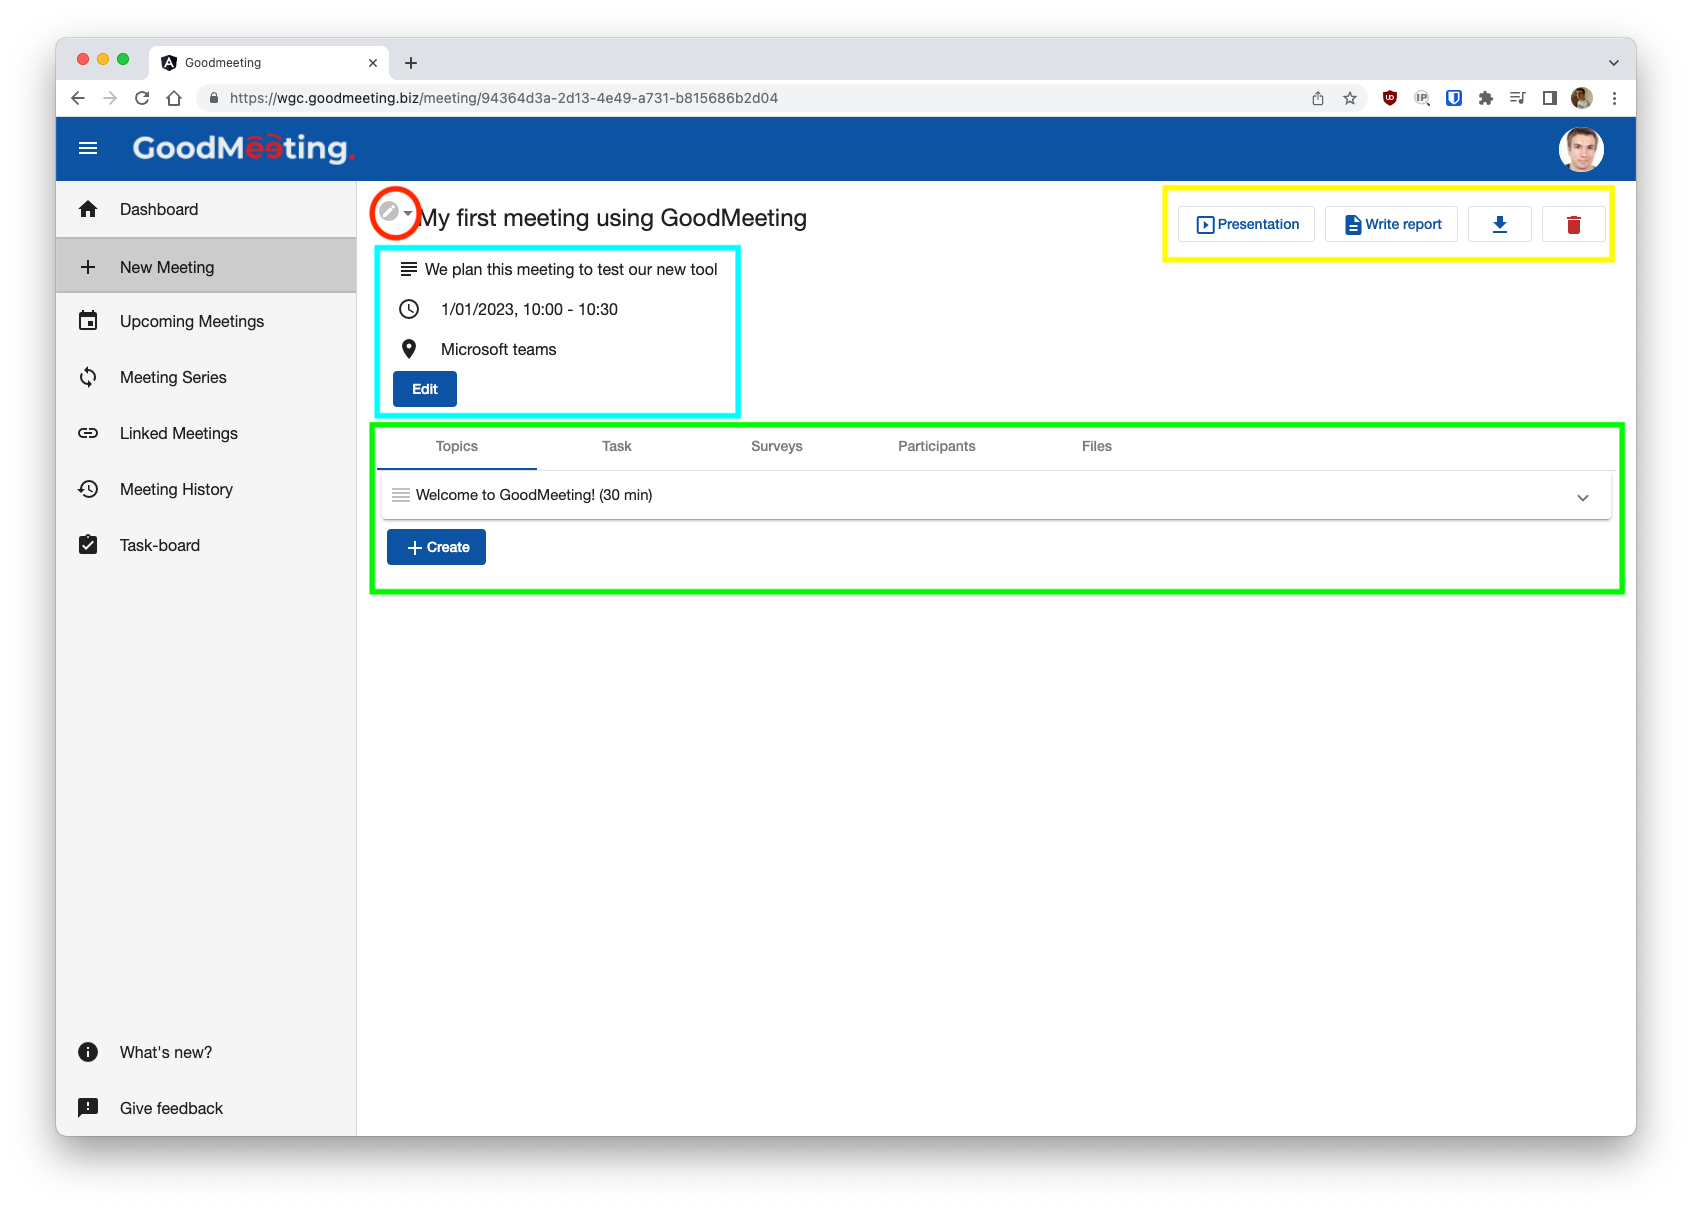
This interface is composed of several elements:
- In the top left corner, red circled, this is the button to change the status of a meeting.
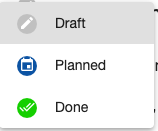
i Draft: the meeting is not visible to the participants
Planned: the meeting is visible and participants are notified by email
Done: the meeting is read-only
- In the right top corner, yellow rectangle, you have additional action buttons.
- Presentation mode: a presentation is automatically generated with the meeting information and different topics. You can project this view or share your screen with your colleagues.
- Write meeting’s report: the reporter view for a meeting. This will be explained later in this documentation.
- Download PDF report: a report is automatically generated with the meeting information and different topics (and their conclusion), written with the “Write meeting’s report” button.
- Delete meeting: if you want to delete this meeting.
- In the blue rectangle, you will find meeting’s information. Title, description, date, chain: you can (re)configure your meeting.
- In the green rectangle, you have the navigation tabs trough the different aspect of a meeting.
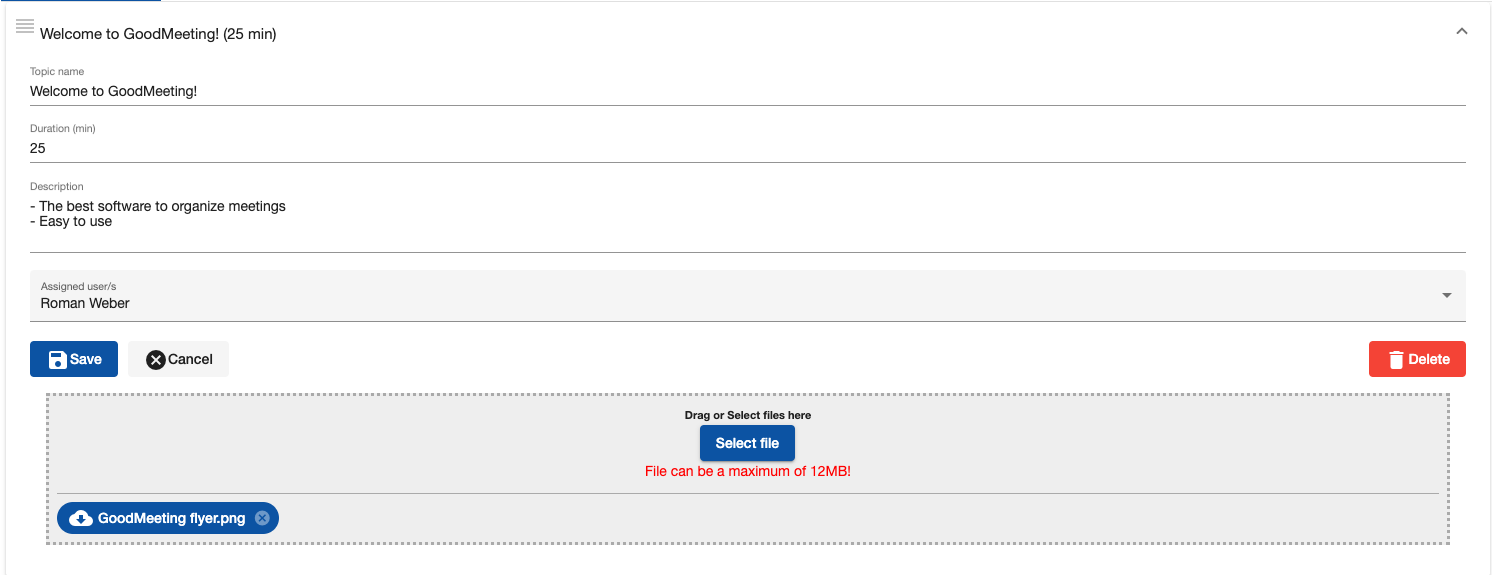
- Topics: Add all topics that you want to speak during the meeting. You can add them a title, a description or your objectives, a duration and assign a user for this topic. You can also upload files related to this topic. During the meeting, the reporter can write a conclusion on this topic. Topic order can also be changed by dragging the icon on the left of a topic.
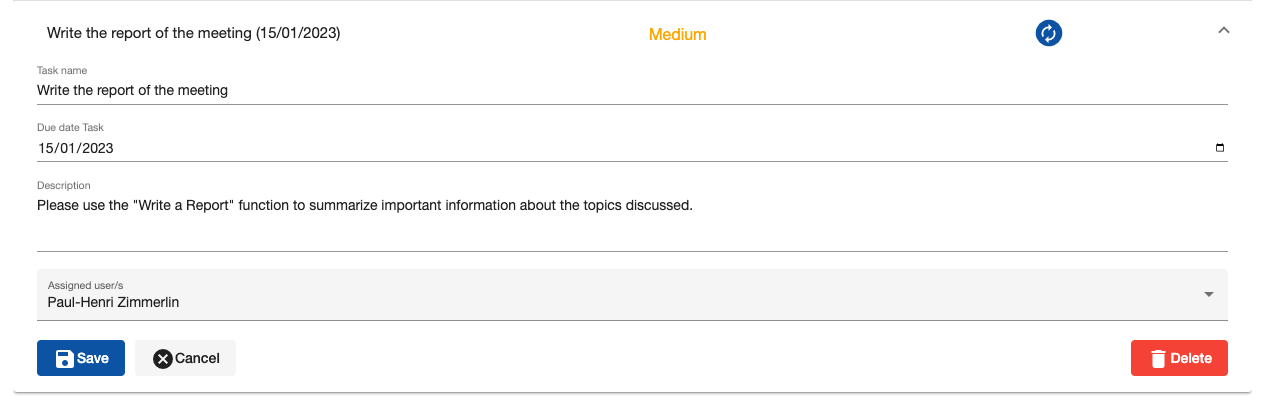
- Tasks: Work to be done before or after the meeting. It is possible to prioritize tasks, assign them to users and track their progress through different status. The tasks can be found on the task-board.
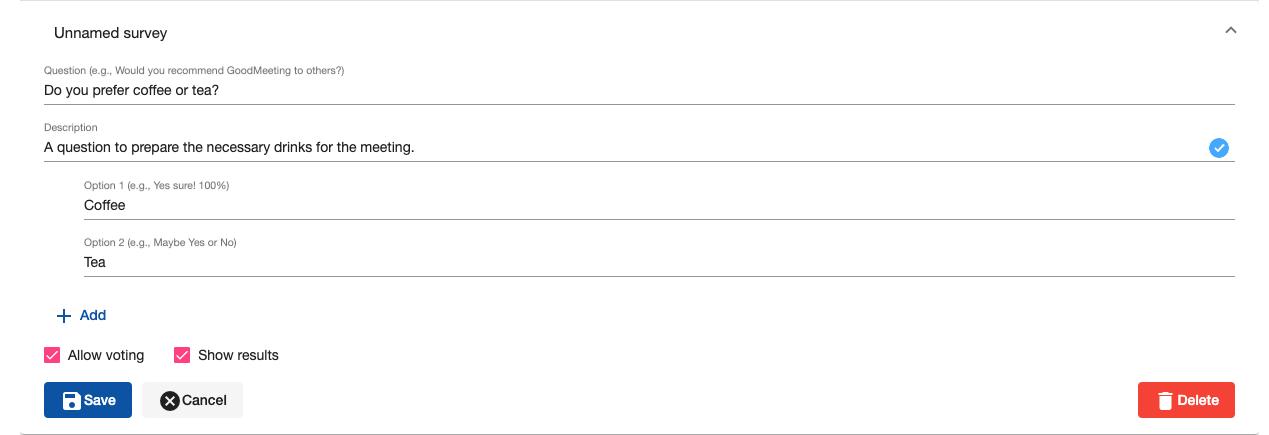
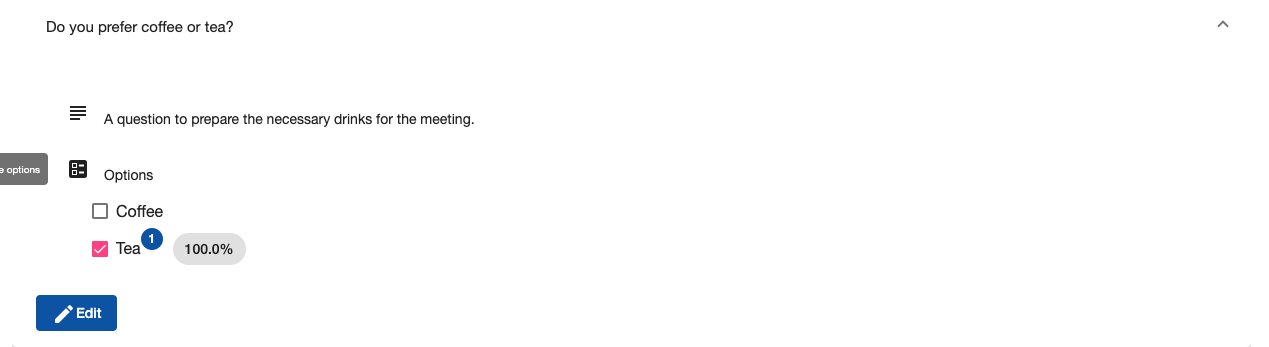
- Decision: Give the ability to your colleagues to vote. You can add several options by using the “+” just on top of the delete button. You can configure if you allow voting (otherwise attendees will only see choices, but can’t vote) and if you want attendees to be able to see the results of the vote. All vote are anonymous, you can only see the number of vote and the percentage.
The results look like this:
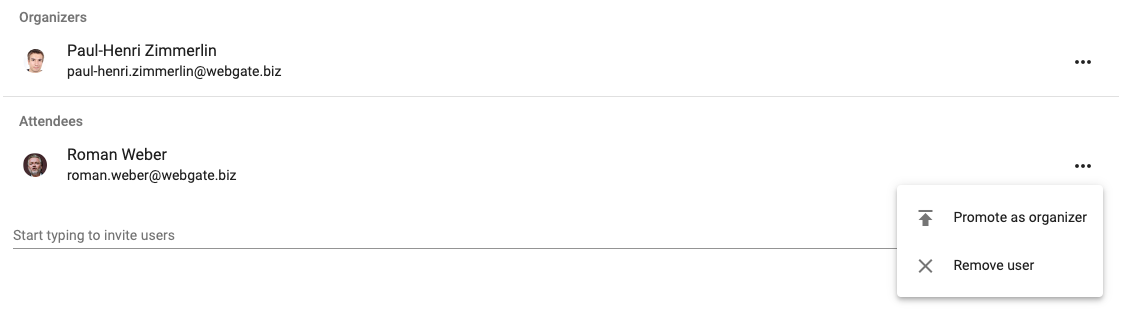
- Users: See invited users, add other users or change user roles. Use the three dots on the right to display options.
- Files: This tab allows you to upload files related to the meeting. Click on the name of a file to download it.

